Take Better Travel Photos with Your iPhone
- Haley Senter

- Feb 2, 2018
- 4 min read
a guest post from photographer Heather Hinson. Photos and text edited and optimized by me.
“The best camera is the one you have with you” - Chase Jarvis
Thanks to smart phones, people all over the world took over a trillion photos
last year. That is a LOT of selfies and Instagram filters!
Our iPhones travel with us every where we go and it gives us the opportunity to
capture amazing photographs of our travels. If you are not fully satisfied with your iPhone photos then you are not unlocking the full potential of your iPhone. I have an iPhone 7 plus and even though this is not the latest generation iPhone, it takes impressive photos. The iPhone 6 Plus was remarkable too! Portrait mode is fun to play with but it’s not necessary to document your trips with quality photographs.

Wide Angle Look

One of my favorite features on my iPhone camera is panorama. You can get a wide angle look with the pano feature, allowing you to better capture landscapes. If you are ever struggling to capture your full environment, trying using panorama. You don't have to drag it all the way across the screen. You can simply drag it just enough to get a wider look for your image!


Brighten and Focus
If you aren't satisfied with the level of brightness, you can brighten your image by tapping the screen and dragging the little sun icon up. Alternatively, darken the image by dragging it down.
When focusing your image, it's important to tap on your subject. However, if you are photographing a landscape and wanting to capture a dramatic sky - focus on the sky. If it makes the rest of the photo too dark, you can edit it later.
We will talk about editing further down!

Lighting
iPhones do not handle low light situations very well. Working with natural light is crucial for taking better iPhone photos. Know what time of day will give you the best light for your subject.
And know what your limitations are when working with an iPhone.
If you are photographing architecture, direct sunlight can be great! But direct sunlight can make portraits challenging and lackluster in quality. If you are photographing people in direct sunlight, try to look for areas that will soften the sunlight - such as shaded areas.
How to apply this technique


As you can see in the behind the scenes photos above, I just utilized natural light from my window and a foam core poster board. I used the poster board because I wanted a clean white background for objects, but it isn't necessary.
This example works really well if you are trying to photograph food at a restaurant (minus the poster board!) or a great find from a local antique shop!
If you want a nicely lit photo of you, your friends or family members indoors - look for a window!
Perhaps you want to photograph them at a museum, hotel lobby or coffee shop to document your trip.
Editing
If you are only using the editing capabilities that came with your phone then you are seriously
going to love this part! I use the Lightroom app to edit the majority of my favorite iPhone photos.
It's such a great tool to have on the go and the best part is that it's free! There is a paid version that
I would highly suggest if you plan on getting more involved with photography.
I use the selective brush tool all of the time to brighten specific parts of a photo.
Lightroom is the perfect all in one app for photo editing on your travels.


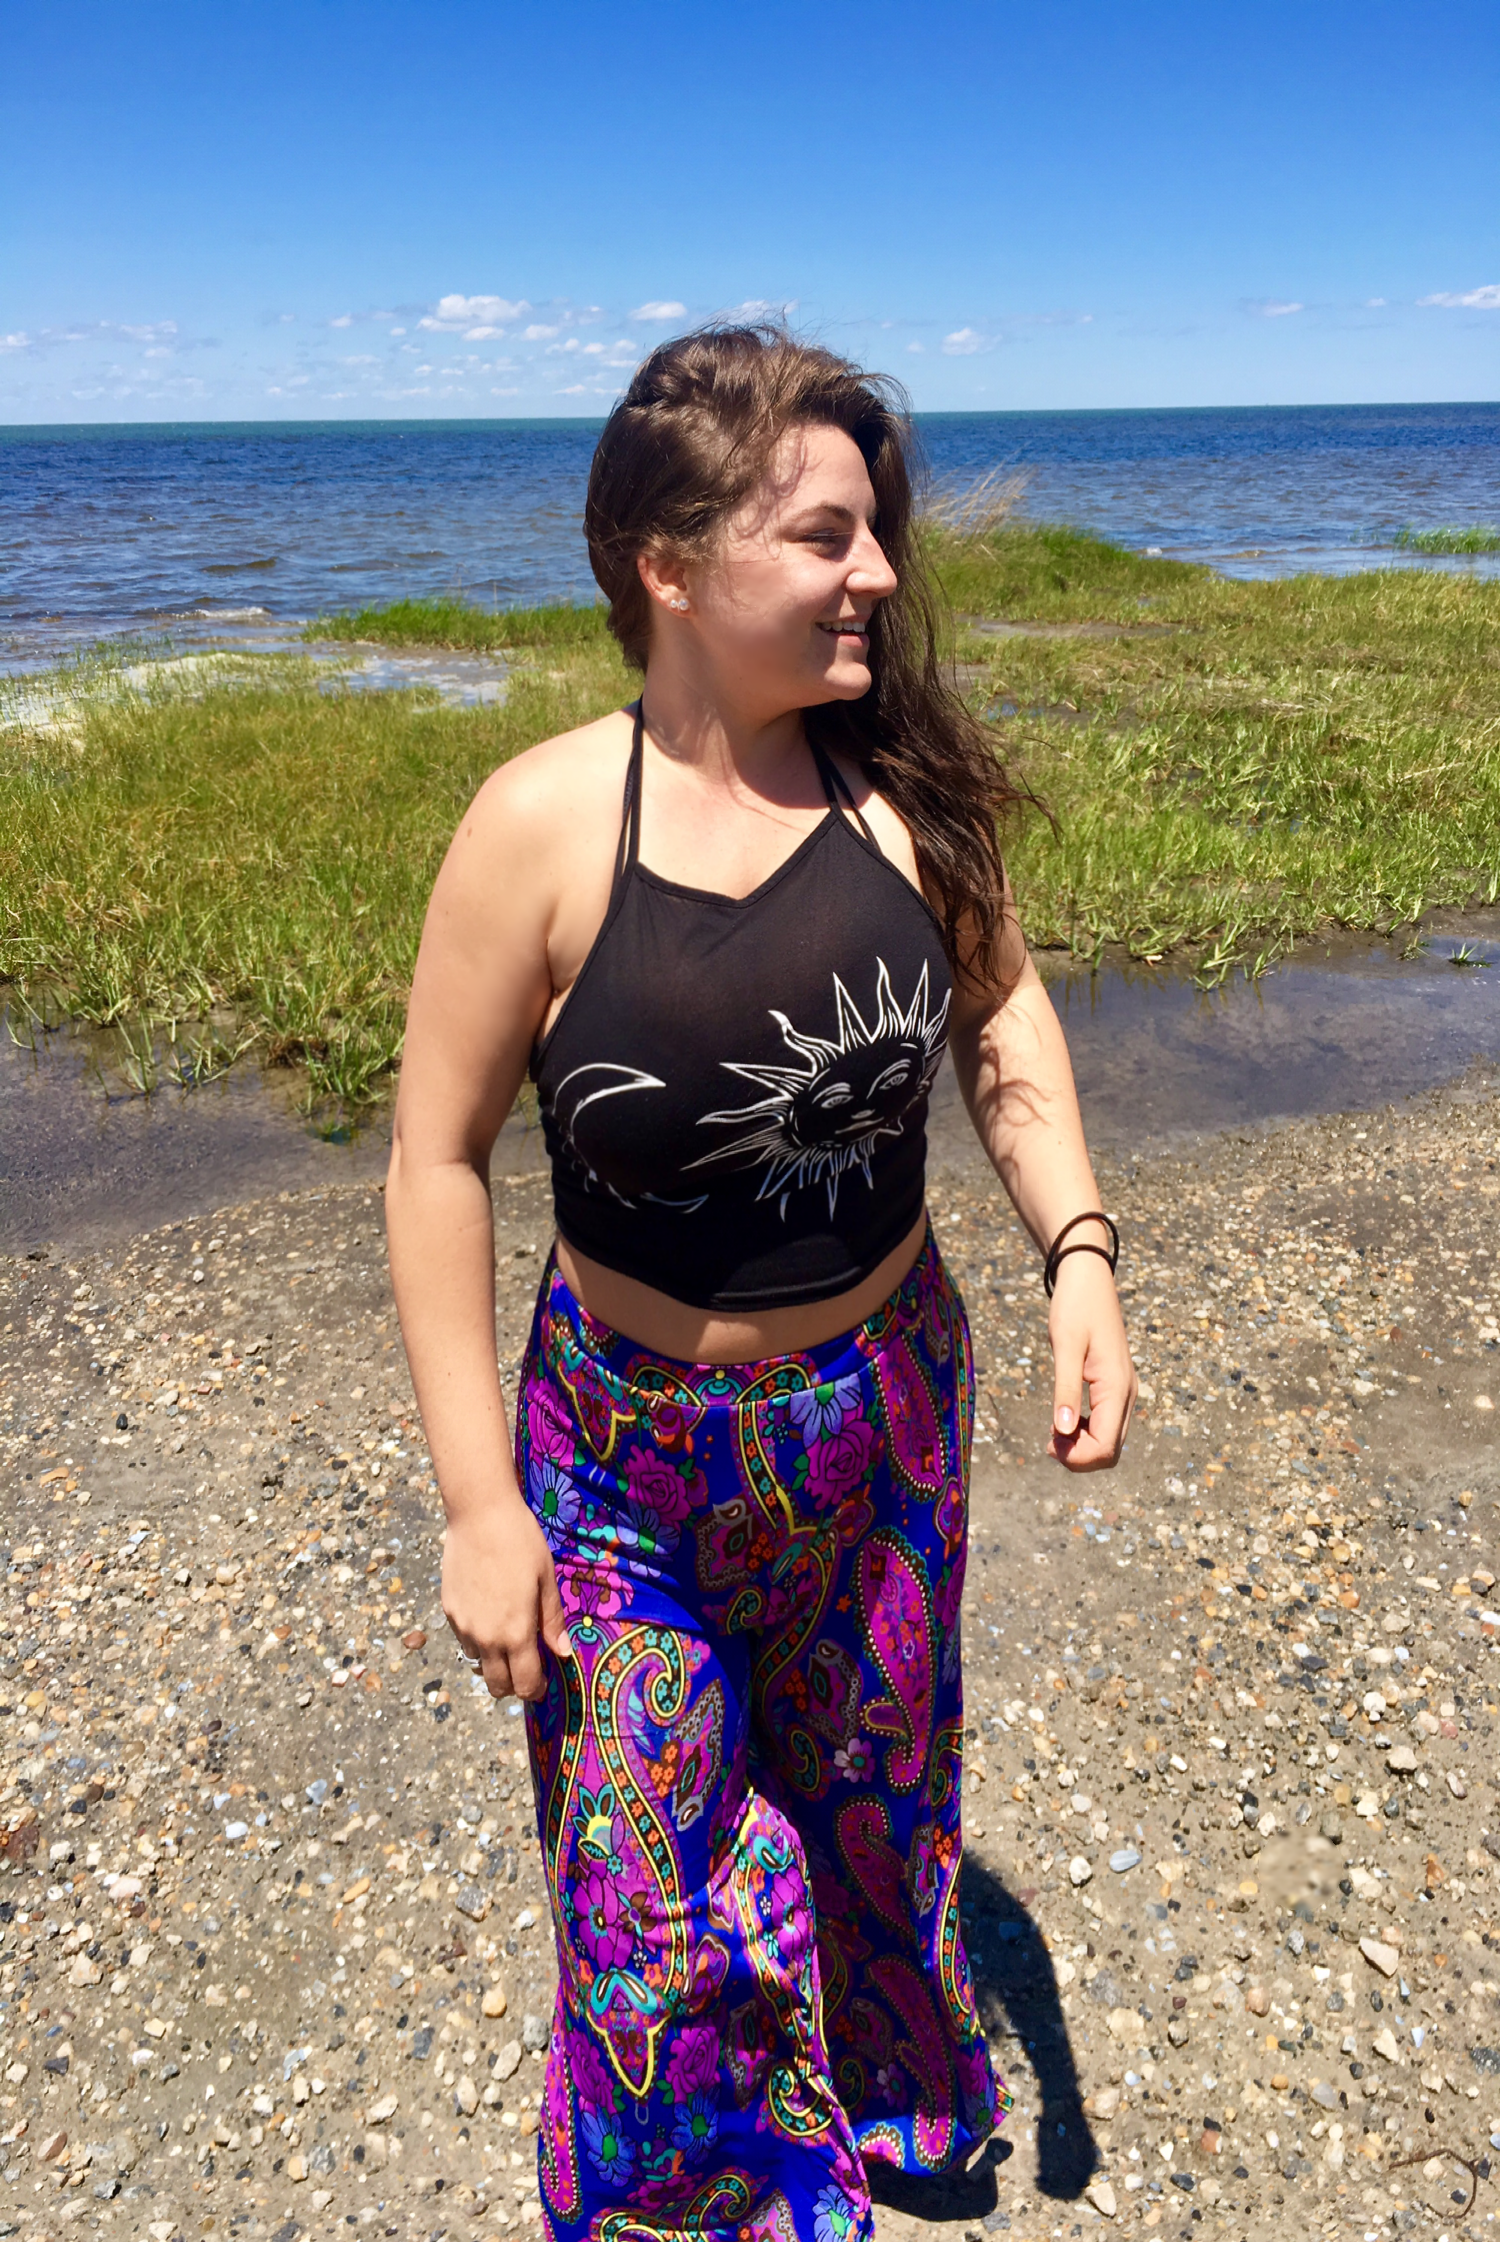
(This is one of Heather's photos that I, Haley, edited in lightroom on my phone.
Instagrammers like @dreaming_outloud use lightroom to get that awesome teal & orange aesthetic)
Rule of Thirds
The rule of thirds divides an image into sections, like a grid. Studies have shown that the human eye is naturally drawn to photographs where the subject falls on intersection - points and lines. Pay close attention to your horizon line when photographing landscapes of beaches and use the rule of thirds to draw attention to your subject in a crowded city setting.

The iPhone does not replace a DSLR
If you are expecting your iPhone to replace a DSLR then you will be disappointed. With a little practice and exploration, you can definitely see impressive results with your iPhone. It is the perfect tool for traveling because it is compact, serves multiple purposes and is much more affordable than most DSLR’s.
Mastering lighting, editing and basic photography skills will improve the quality of your iPhone photos significantly.
Overall,
• [endif]Use the panoramic setting to get wider perspectives
• Make use of iPhone features
• [if !supportLists][endif]Avoid harsh afternoon sunlight for portraits
• Use third party apps to edit photos
[if !supportLists]• [endif]Pay attention to composition and the rule of thirds
Edit:
I hope you all found these tips for taking better travel photos with your iPhone useful. I, myself, use pano and lightroom very often for my travel photos. Unfortunately, I am behind on technlogy and still lack portait mode as well as a DSLR. I use only my iPhone 6s and a GoPro for my photos, so it is important to make the most out of iPhone photography.
Thank you again to Heather Hinson for sharing these tips! Check out she and her husbands photography business website.
.png)


Comments